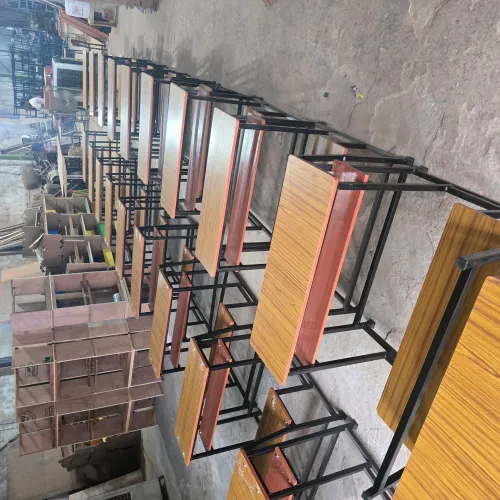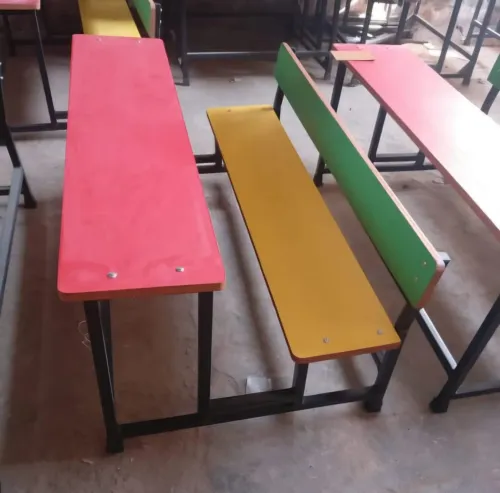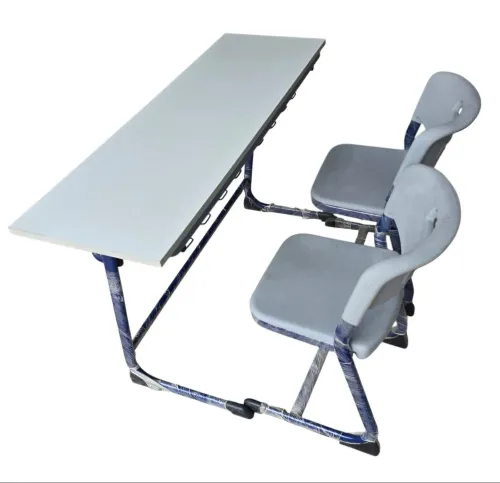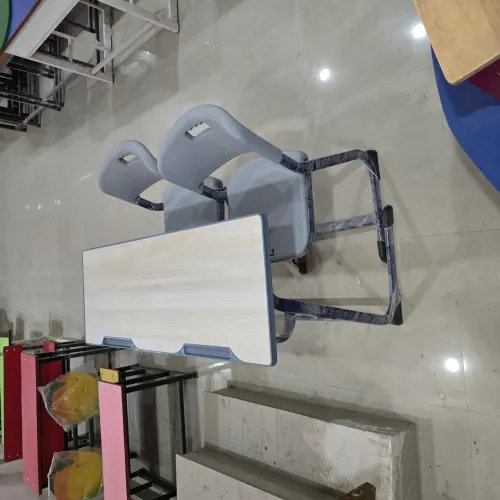

Loose joints, cracked welds, swollen board edges, and side-to-side racking cause most early bench failures. By following a simple inspection and repair process, changing how benches are moved and used, and specifying testable construction details, you can extend service life while removing unsafe units before they injure students.
Key takeaways
- Inspect joints, welds, tube walls, panel edges, and floor contact before tightening fasteners.
- Repair loose fasteners; replace benches with cracked welds, bent frames, or split panels.
- Prevent side loads by banning dragging, rocking, standing, and unsafe storage practices.
- Choose braced frames and durable joints designed for heavy, repeated classroom use.
Find the failure before tightening anything
Check the joint before tightening anything. If a school desk bench for breaking quickly becomes loose or unstable, find where movement starts: a fastener, weld, steel tube, panel edge, or floor contact. A downward weight rating will not reveal damage from side-to-side rocking, dragging, or students standing on the bench.
1. Empty the bench and rock it gently from front to back, then side to side. Note whether the movement comes from one leg-to-frame joint, the seat or desktop connection, a brace, or an uneven floor.
2. Inspect every bolt, nut, washer, and screw for looseness, missing parts, stripped threads, or a fastener that is too small for the joint. Do not tighten a fastener into a crushed or enlarged hole.
3. Follow each weld seam around the frame. A hairline crack, lifted coating, rust line, or visible separation means the bench is not safe to stabilise by tightening bolts.
4. Sight along each leg and crossbar for bent or twisted tubing. Check every foot for damage, and look for sharp metal, exposed edges, split plywood or particleboard, and swelling caused by water.
5. Tag the bench and record the exact failure location, classroom, floor condition, and likely trigger. Compare several failed benches in one batch; repeated failures at the same joint point to design or assembly, not isolated misuse.
Tighten only after identifying a sound joint with a loose fastener. Remove the bench from service when the frame is cracked or badly bent, the load-bearing panel is split, or sharp metal remains exposed.
Repair a loose fastener; remove structural damage
Repair school desk benches when the defect is a replaceable fastener or service part; remove them from classroom use immediately when the frame, weld, load-bearing panel, or edge has failed. Tag the bench so nobody returns it to service by mistake.
| Defect | Action | Service decision |
|---|---|---|
| Loose bolt or nut | Retighten to the specified torque; replace damaged hardware and add a suitable washer | Repairable |
| Stripped screw or missing foot | Install the correct replacement fastener or foot; do not substitute a smaller screw | Remove until repaired |
| Cracked weld or separated joint | Do not rely on tightening; have the frame assessed and professionally repaired or replaced | Immediate removal |
| Bent leg, twisted tube, or unstable frame | Replace the damaged frame or bench; a new bolt will not straighten steel | Immediate removal |
| Split, swollen, or sagging load-bearing panel | Replace the seat, desktop, or support panel | Immediate removal |
| Sharp exposed metal or broken board edge | Remove the hazard and replace or properly finish the damaged part | Immediate removal |
A loose fastener is repairable only after you confirm that the surrounding tube, hole, bracket, and joint remain straight and intact. If movement remains after tightening, stop using the bench; the fault is structural, not a maintenance adjustment.
Record the failure location and cause on the inspection sheet. Grouping repairs reveals recurring problems such as under-torqued bolts, weak braces, floor contact issues, or repeated side loading. A cracked weld repaired without correcting distortion or racking will usually crack again.
Stop classroom use and storage from creating side loads
Keep benches level and fully supported during use; side-to-side rocking, dragging, and one-sided impacts loosen joints faster than ordinary downward loading. Never let students stand, kneel, perch on an edge, or swing against a bench. Match seat and desk height to pupil size so poor posture does not turn into climbing or leaning.
Train staff and students to handle heavy use school benches this way:
- Lift from the frame with two people when the bench is too heavy or wide for one person; do not pull it by the desktop, seat, shelf, or backrest.
- Lift both ends together and carry it straight through doorways; striking one leg against a wall twists the frame.
- Clear bags, chairs, and floor obstacles before moving a bench; dragging it sideways makes the feet catch and racks the joints.
- Keep overloaded books, water containers, and equipment off shelves; concentrated weight can bend supports and pull fasteners sideways.
Store benches on a dry, level floor with every foot supported. Stack only within the manufacturer’s stated limit, align the frames, and keep stacks away from doorways where carts or students can hit the lowest legs. Do not lean benches on one edge or place them on uneven piles.
After rearranging a room, rock each bench gently by hand. Stop using it if it wobbles, a foot is missing, or a joint clicks; repeated movement will enlarge the damage before the next inspection.
Specify a frame that survives racking and repeated use
Choose the frame by what it survives: racking, impacts, dragging, and repeated assembly—not by a maximum downward weight. Specify welded joints with continuous, clean welds; adequately sized steel tubing; bolted replaceable feet, panels, braces, and back supports; and no raw board edges near floor contact, screw holes, or exposed laminate.
Ask the supplier for these acceptance conditions:
- A test report to EN 1729-2 for the exact bench configuration, including its frame, top, seat, fittings, and dimensions—not a similar model.
- Cyclic, impact, stability, and strength results, with the tested configuration and any failure recorded.
- A coating specification covering steel pretreatment, powder-coat thickness or equivalent performance, sealed cut edges, and resistance to classroom cleaning chemicals.
- Sealed panel edges, moisture-resistant board where board is unavoidable, and feet that hold panels above standing water.
- Replaceable fasteners and service parts, so one damaged foot or seat does not condemn the complete welded frame.
Compare the evidence before choosing durable school desk benches in delhi:
| Evidence | Strong specification | Weak substitute |
|---|---|---|
| Frame joints | Weld inspection plus racking and cyclic test results | “Heavy-duty” wording |
| Load claim | Strength test for the complete bench | Stated user-weight limit alone |
| Surface protection | Coating system and edge-sealing details | Salt-spray figure without context |
| Serviceability | Replaceable feet, panels, braces, and fasteners | Entire frame replacement |
| Test validity | Report names the exact model and configuration | Report for an unspecified product |
Indera Furnishers is worth asking for configuration-specific documentation when comparing modular benches, because interchangeable parts only help if the tested frame and replacement components match what your school will receive.
Related product
 | School Furniture Durable metal school benches for government schools ₹2200 Classroom furniture has evolved from rigid, fixed rows to dynamic, ergonomic pieces designed to support different teaching styles and student needs... View product → |
Make inspection and repairs part of the operating routine
A four-point schedule keeps a small fault from becoming a broken frame: daily checks catch immediate hazards, while weekly, monthly, and term-start inspections track wear before it returns.
- Daily: The teacher or room attendant should rock each bench lightly and look for movement, missing floor feet, sharp metal, and newly exposed board edges. Remove any bench with a cracked weld, bent frame, split load-bearing panel, or dangerous edge immediately; do not wait for the weekly round.
- Weekly: Inspect every leg-to-frame joint, weld seam, seat and desktop fixing, and floor-contact point. Tighten an accessible loose fastener with the specified anti-loosening method, replace missing hardware, and tag the bench if the joint will not hold.
- Monthly: A maintenance worker should inspect visible fasteners, weld termination points, tubing, feet, and panels for corrosion, swelling, cracking, and permanent twist. Record the bench number, failure location, repair, and likely cause so repeated faults point to assembly, floor conditions, design, or misuse.
- At the start of each term: Inspect every bench before pupils return, complete documented fastener and weld checks, and repair in batches using the same checklist. Confirm replacement feet, washers, bolts, and panels fit that model; recheck repaired benches before release.
Never weld over powder coating or rust. Strip and clean the area first, then restore the heat-damaged coating and exposed steel, or corrosion will hide beneath the repair. Keep failed benches tagged and separated until a competent person signs them back into service.
Frequently asked questions
What should you inspect before tightening a loose school desk bench?
Trace movement at the fastener, weld, steel tube, panel edge, and floor contact. A loose screw is not the only possible failure point.
When should you repair or replace a school desk bench?
Repair a loose fastener when the surrounding material remains sound. Remove the bench from service when you find cracked welds, bent frames, split panels, or other structural damage.
How do classroom use and storage damage desk benches?
Dragging, rocking, students standing on benches, and uneven storage create side-to-side loads that loosen joints and deform frames.
What makes a school desk bench suitable for heavy use?
Specify a frame with bracing, sound welded or mechanically secured joints, durable panel connections, and enough resistance to racking and repeated movement.
Keywords